Summer marches on, and many families are ready for some fresh new activity ideas to keep their kids engaged and learning. To help liven things up – and prepare your four-year-old to start preschool in the fall – we’re sharing three days’ worth of unplugged developmental, educational, and social-emotional learning activities designed specifically for preschoolers (click for minicamps for three- and five-year-olds, too). Check out these fun ideas, starting with:
Minicamp Day
One:
Developmental
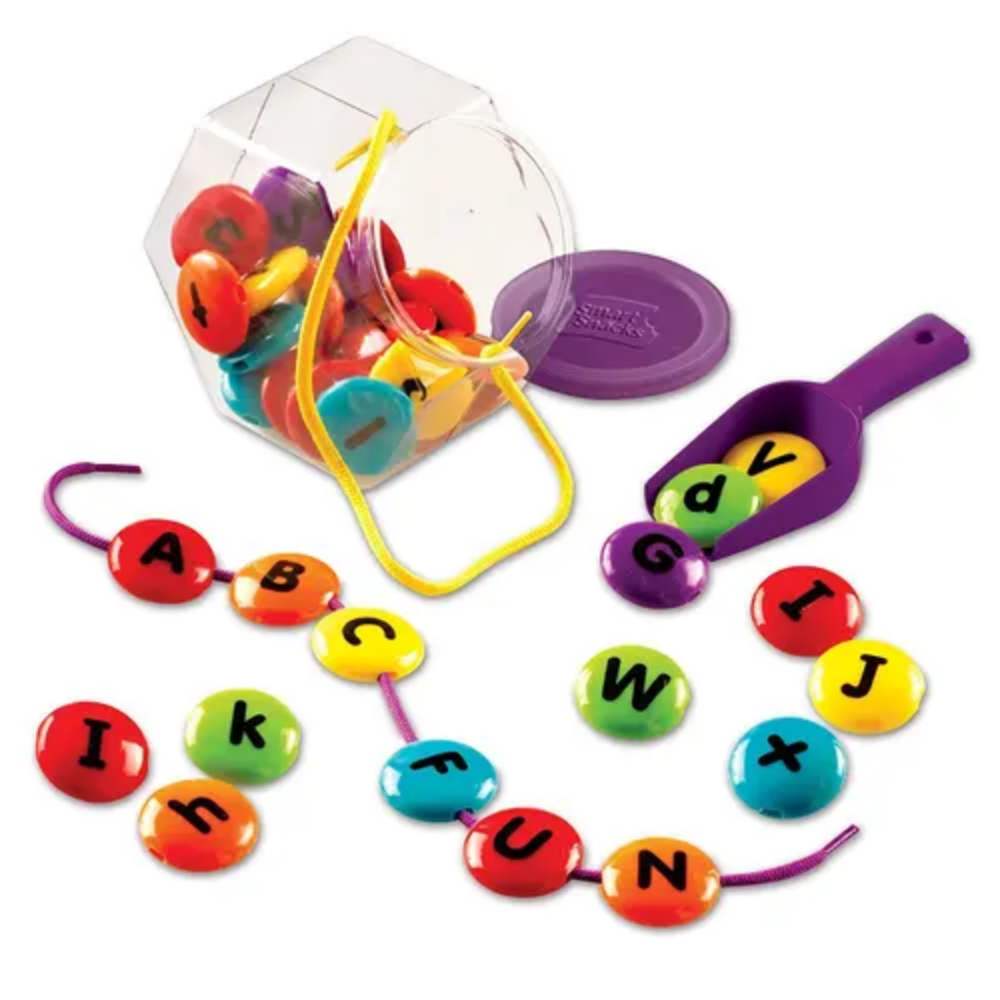
Activity – Find a Common Thread
Kick off your first day of camp with some fine motor fun! Threading is an age-appropriate challenge for four-year-olds, resulting in a colorful creation they can wear or display. Set out some pipe cleaners and pony beads and thread a bracelet, create a beaded pattern for your preschooler to follow, or stick some spaghetti sticks into a ball of molding dough and thread penne noodles to make Stegosaurus. Find more threading ideas here.
Educational
Activity – Make an Ice Balloon
Shift from motor skills to a letter learning deep dive with this fun underwater activity (also great for bathtime!). Fill a bin with bubbly water, add a plastic scooper or cup, tongs, plastic tweezers, a whisk, and a clean dish scrubber, then drop in some plastic letters or letter magnets. Say the name of each letter as your child extracts it, make its sound, and say a few words that start with that sound. Find step-by-step instructions here.
Social
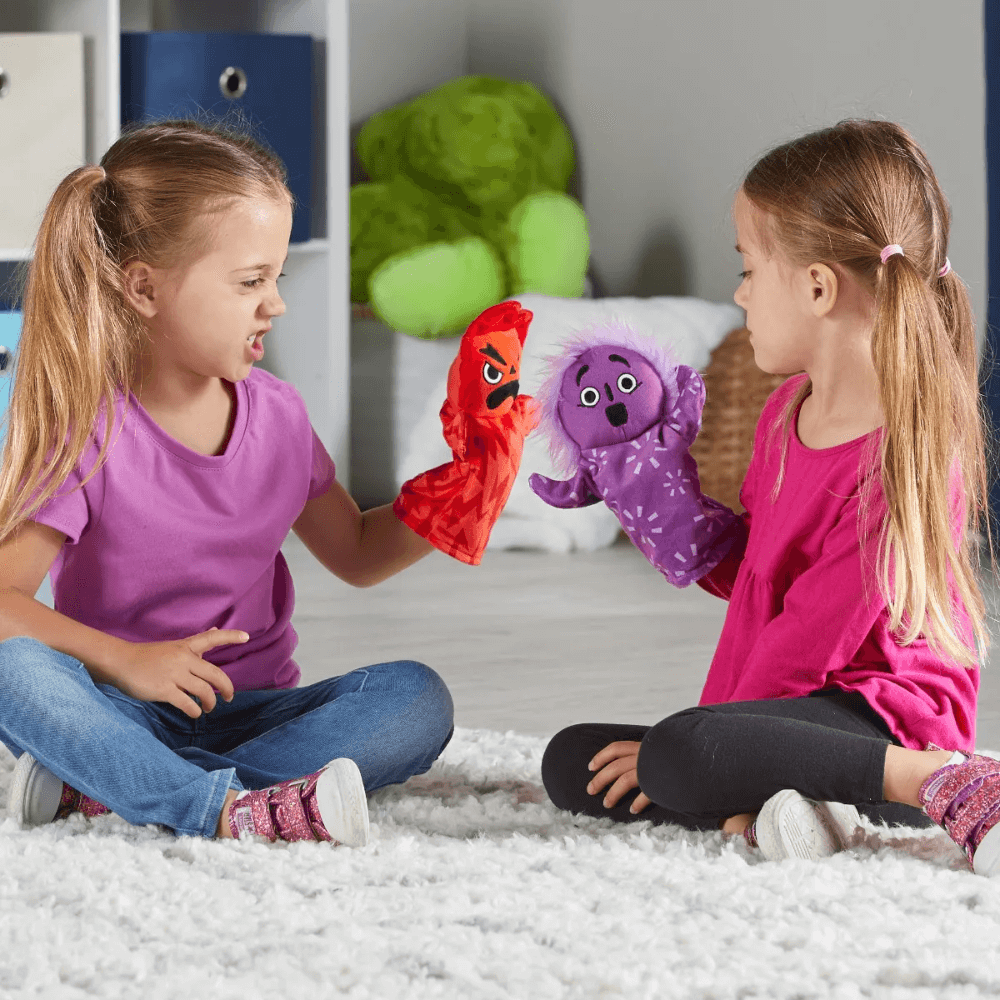
Emotional Learning Activity – Explore Big Feelings
Solid social-emotional skills are a must for preschool. This free, downloadable, matching worksheet will help your little one learn to recognize emotions, from silly to sad to calm and nervous. Then talk about the feelings that go with each face, whether your child has ever felt that feeling, and what they might do to help a friend who’s feeling the same.
✨ Bonus Activity
– Feeding
at the Farm ✨
If your camper can’t get enough animals, they’ll love this fun-on-the-farm activity! Set out a few plastic bowls filled with animal “food” (think oats, dry pasta, chickpeas, and nuts), then let your little one use a spoon to fill cupcake liner “troughs.” Place the troughs on a play tray and your plastic farm animal figurines, and watch the pretend play unfold!
Minicamp Day Two:
Developmental
Activity – Set
Up an Apple Sensory Bin
Nothing says summer quite like apple pie! Kick off day two of minicamp with a sensory stimulating activity bin full of oats, play apples (or red, green, and yellow pom poms), scoopers, sifters, tongs, cups, and spoons, and let your little learner loose. Sorting and matching by color and size is a key foundational math skill, and manipulating the tools in the bin builds fine motor skills. Find more ways to play here.
Educational
Activity – Explore Animal Habitats
This hands-on habitat activity lets kids learn about different animals and their various environments! Start by asking your child to choose a favorite animal figure. Talk about where that animal might live, what they might eat, and what you’ll need to create the perfect habitat. Take a walk around the house, out back, and to the park to collect these items, then build your habitats using a shoebox or Tupperware container, dirt, sand, rice, pebbles, bark, twigs, beads, marbles, etc.
Social
Emotional Learning Activity – Play
School
Playing school is a wonderful way to build your child’s creativity and imagination. It also allows your soon-to-be-scholar to mentally prepare for going to school and build the confidence they’ll need to thrive there. Set up some school-ish materials, like a chalkboard or easel, books, paper and crayons, and stickers, and follow your little one’s lead. Will they read to their stuffed animals? Teach you letters and numbers? Draw a picture?
✨ Bonus Activity
– Make
Hidden Veggie Popsicles ✨
Nothing is nicer after a day of summer minicamp than a delicious popsicle! Follow our favorite recipe for fruit and veggie pops, working together to squeeze the lime, drop the ingredients into the blender, stir the elements, and insert the popsicle handles. Talk about the foods as you work with them – what color are they? What is their texture like? What letter does that food start with? How might it taste?
Minicamp Day Three:
Developmental
Activity – Have
Some Fantastical Fine Motor Fun
Day three of your minicamp will be fantastic, thanks to our printable preschool worksheets! Build hand strength, graphomotor skills, hand-eye coordination, and more with a pack of free, fantastical preschool printables, including color by numbers unicorn, a mystery maze, and a coloring sheet. Then practice cutting with kid-safe scissors to create pretend play unicorn and dragon masks.
Educational
Activity – Print
Letters in Playdough
Practice letter identification, letter sounds, and word building with this simple stamp-and-learn activity! Set out some molding dough (or make your own – another fun minicamp activity!), tools like plastic rolling pins, cutters, kid-safe scissors, and letter blocks or magnets. Then show your child how to flatten the dough and stamp a letter into it. Say the letter name as they stamp, make its sound, and say a word that starts with that letter. See if your child can find the letters in their name and stamp them all in a row.
Social
Emotional Learning Activity – Practice
Kindness
Knowing other people’s feelings and doing what you can to help are two hugely important SEL skills. Put your playdough letter practice to good use by thinking of a friend or family member who might enjoy receiving a picture or letter from your child in the mail, then make one! Help your little one write a simple message, draw or paint an image to go with it, address an envelope, insert their work, and let your sweetie apply the stamp. Walk the letter to the mailbox, and off it goes! Find other ways to practice everyday kindness here.
✨ Bonus Activity
– DIY
Terrarium ✨
Are you tired of the summer heat? Make your rain cloud out of shaving cream and food coloring! Drop food coloring, one color at a time, onto a clear glass of water topped with shaving cream until the cream “cloud” becomes saturated enough to rain – just like real clouds! Then watch as a rainbow of colors is released from the bottom of the cloud into the water. Find step-by-step instructions for making your rainbow cloud here.
 Shop UK Site