US US US We use cookies on this website to improve your shopping experience. We use cookies to remember log-in details and provide secure log-in, collect statistics to optimize site functionality, and deliver content tailored to your interests. Click accept to give your consent to accept cookies.
Celebrate Cinco de Mayo this year with some live music! The kids will love crafting these simple instruments, opening up discussion about the holiday and its origins. It is a common misconception that Cinco de Mayo is celebrated as Mexico’s independence day. In Mexican culture, May 5 actually marks the Mexican army’s unlikely victory over the French forces of Napoleon III in 1862, at the Battle of Puebla. In fact, the residents of the state of Puebla are really the ones who celebrate the holiday the most – even more than the rest of Mexico. They party with traditional Mexican food, dancers, and mariachi music. These wonderful sounds of celebration inspired us to make some homemade instruments. According to the Brain and Creativity Institute at University of Southern California, music experiences in childhood can actually accelerate brain development, particularly in language and reading skills. Down the road, learning a musical instrumental at an early age can actually improve mathematical learning and increase SAT scores. Sounds good to us, so let’s get musical! Here’s what you’ll need to make you own little Cinco de Mayo band.
Festive
Tambourine
What You'll Need:
2 paper or plastic plates
Decorations (stickers, markers, or paint)
Ribbon
Hole Punch
Craft Jingle Bells
Scissors
Using your paint or stickers, decorate the outside of your tambourine. Be colorful and creative!
Next, match the plates up so the bottom part of the plate faces out. Punch 5-6 holes around the plate’s circumference, making sure your bottom and top plates match up.
Cut the ribbon as long as you’d like. Longer ribbons always seem to add more drama! Then lace the ribbon through the jingle bells.
Loop your ribbon around the holes punched in the plates, securing it with a double knot.
Shake away! These small bells make a joyful sound!
Beating Drum
What You'll Need:
Clean Tin Can (be aware of sharp edges!)
Baloon
White Duct Tape
Decorative Tape
Two #2 Pencils
Scissors
First, cut the balloon at the base of the “stem”. You’ll need lots of balloon material to cover the wide opening of the can.
Stretch the balloon over the tin can. Tape the perimeter.
Then finish the whole can with the white tape, and add decorative tape if you so choose.
Shaky Maracas
What You'll Need:
Plastic Easter Eggs
Plastic Spoons
Dry Rice
White Duct Tape
Decorative Tape
Scissors
Fill the plastic eggs with about 2-3 pinches of rice. Filling them too full will not allow for the fullest sound: less is more.
Close the eggs and stick some tape around them immediately. If these crack open, you’ll have a big mess.
Next, situate two of the spoons to “cup” the eggs on either side. Wrap the tape around the spoon. Follow the spoons’ handles down with tape, as well as the top of the egg.
Add some decorative tape or stickers of your liking.
Let's bid farewell to Summer in style by creating tie-dye beach towels with the help of the color wheel, rainbow order, mixing, and pigment strength. Set up the activity in the comfort of your backyard, and don't forget to grab some gloves and plastic coverings if you aren't on grass.
This activity works best with the widely available spray tie-dye kits. They dry faster, making the application easier for even the youngest beach-goers.
Grab white beach or bath towels (the fluffier, the more color-absorbent), lots of duct tape, hot water for mixing the tie-dye, and the spray kit.
Lay your towel out on a flat surface, smoothing it out. Spell out your child’s name across the towel using the tape and moving slowly.
Make it a Learning Experience
Keep the color wheel handy as a guide. It is a great visual tool for classifying spectral wavelengths from red to violet.
Depending on the options available in the tie-dye set you’ve purchased, look at your color wheel and separate your bottles into primary, secondary, and tertiary categories.
Next, put on your gloves on a covered surface or grass and mix the tie-dye with the warm water. What colors are made from primary colors? Working from the color wheel, which colors will look best near each other on the towel?
Let the Fun Begin
With those gloves on, let the spraying begin! Be glad you have on gloves! The bottles can get messy fast. If you prefer the traditional route of tie-dying, try using Twisty Droppers! Pigment strength was brought up: how do we intensify the color?
It’s perfectly fine to get spray on the tape. Once the towel is pretty dry, flip it over to spray the backside! Flip back over and allow to dry completely. Wash the towels separately twice, alone in the wash.
The Benefits
Creativity: Tie-dyeing allows children to express creativity through color and pattern choices. They can experiment with combinations and see how they turn out, encouraging them to think outside the box and develop their artistic skills.
Fine Motor Skills: This activity involves handling small objects, such as bottles and droppers, which can help children develop fine motor skills and hand-eye coordination.
Science Exploration: Tie-dyeing also teaches children about science concepts like color mixing and pigment strength. They can observe how primary colors combine to create secondary and tertiary colors and experiment with different dye ratios to water to create varying degrees of color intensity.
Sense of Achievement: Completing a project, such as tie-dyeing a beach towel, can give children a sense of accomplishment and pride in their work. They can use their monogrammed towels as a tangible reminder of their creativity and hard work.
Bonding Experience: This activity can also be an excellent opportunity for parents and children to bond over a shared creative project, working together to create a unique and personalized item that they can enjoy using for years to come.
Voilà! Monogrammed beach towels created by your color-wheel-savvy children. Enjoy the summer!
Help your kids practice their critical thinking skills with this fun, free printable page. Circle the penguins that are different or the same. Includes bonus coloring and math activities.
Help your kids practice their critical thinking skills with this fun, free printable page. Circle the penguins that are different or the same. Includes bonus coloring and math activities.
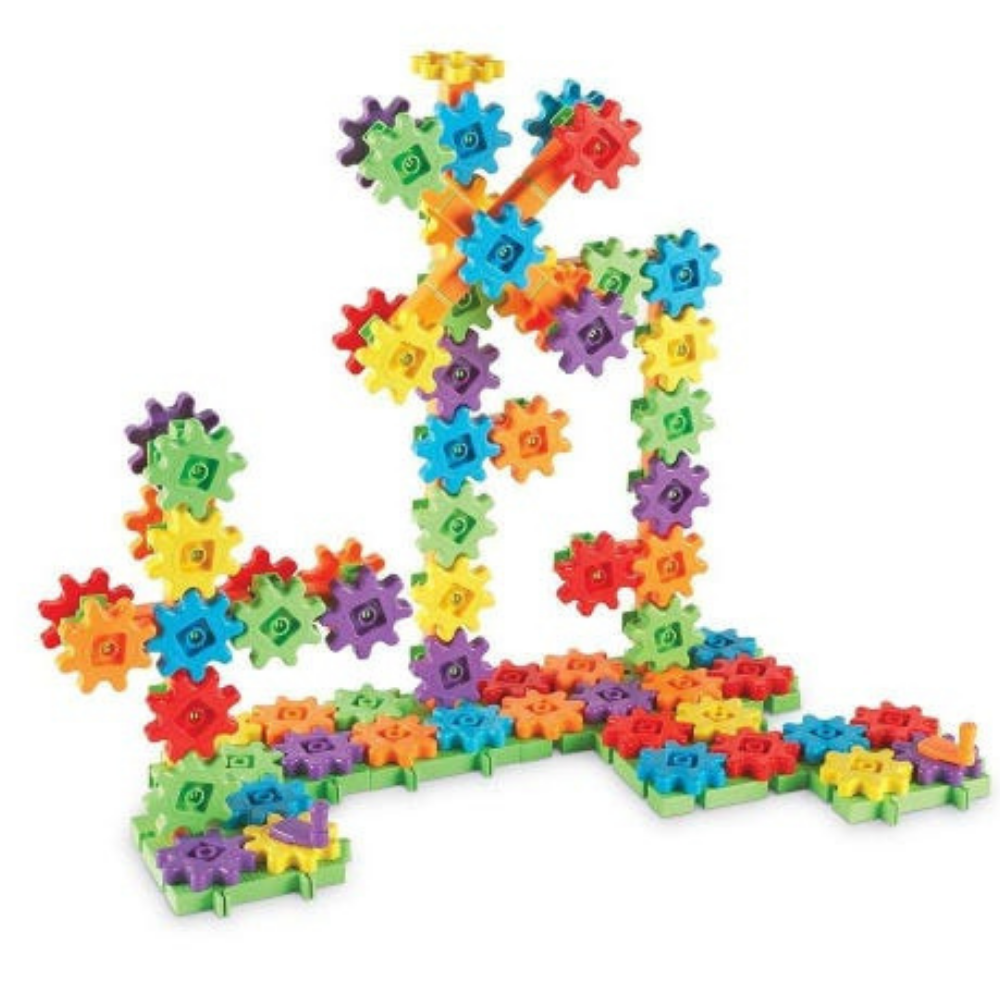
Hooray! The holidays are here! Time for snuggly sweaters, snowy sleigh rides, hot apple cider, and… STEM? Yes! Winter break is a great time to slip in some STEM learning and the Learning Resources Playground Engineering & Design Building Set is a great way to do it!
First, a quick refresher on STEM.
STEM is simply a nationwide push to put more emphasis on science, technology, engineering, and math in schools, to better prepare our kids for careers in these fields in the future. By exploring these subjects at home, in a playful, low-stress way, you’ll ignite your kids’ curiosity, fuel creative thinking, and problem-solving, and inspire confidence that will carry through to school and support what your kids are learning there.
So, what are you waiting for?
Pour a cup of cocoa, call the kids to the table, and get ready to build your own polar playground!
Open the box, and you’ll find lots of packaged parts and pieces, as well as a set of double-sided instruction cards and a little workbook. Start by unpacking all the pieces in groups and checking out the different playground equipment you and your kids can engineer! You’ll find posts, platforms, gears, connectors, and more – everything you’ll need to design your own simple machines!
Next, choose a card and review the pieces you’ll need to build that structure. Work together to gather them and set them aside. Then follow the photos on the cards to assemble the structure, piece by piece. Once it’s finished, test it out by placing one of the included figures inside.
Now, flip the card to find a building challenge related to that structure. This is a great time to introduce the engineering design process – you know, ask, imagine, plan, create, and improve. Let your little one take the lead on solving the problems on the back of each card – you’ll be impressed with their creative solutions!
Take your time building the different playground pieces. Talk about the process and share some of the science behind the fun. Gravity draws the figure down the inclined slide. Momentum keeps the merry-go-round spinning. You get the idea.
When you’re done with building fun, it’s time to get creative with some playground pretend play! Your kids will love walking the included figures through the playground and helping them try out each piece of equipment.
In fact, there are lots of playful ways to help your kids love learning and develop the skills they need for success. Work a holiday-themed puzzle, dissolve a candy cane, freeze and melt colored ice cubes… There are always ways to learn where you play – especially during the holidays!
The kids’ table is THE place to be this holiday. Allow time for the adults to enjoy seconds at the big table by breaking out some STEM fun with the kids. Mini marshmallow and gumdrop structures are this holiday’s time enhancer–and it couldn’t be easier!
Simple setup + simple materials = BIG scientific impact
You will need:
Lots of toothpicks
Gumdrops
Mini marshmallows
Without realizing it, your kids (and kid guests) will begin to think like engineers who are facing a two-part challenge:
What to make?
How to improve on what you’ve already made?
Begin by challenging kids to create simple structures, like shapes. Try octagons, triangles, ladders, etc. Will these serve as building blocks to something more three-dimensional?
Without the children realizing it, building these gumdrops and marshmallow shapes is a unique way to practice fine motor skills. Dexterity, grasp, and coordination are necessary to construct up, up, up – no matter the age!
Next, watch kids as they critically examine how to improve upon what they’ve already created. What step is needed to take it (literally) to the next level?
What about the structural composition of the connectors? As the kids begin to build, are the marshmallows easier to stab with the toothpick? Which seems to keep your three-dimensional shapes in place better?
As they build, remind children that failure is definitely an option, here. That your shape may shift and your tower may topple! The attempt to rebuild by lessons from their first misstep is just as important of a takeaway.
Lastly–and most delightful to watch as parents–might be the natural drive for table collaboration. “If we attach our structures together, it will be even bigger and better and more interesting!
The possibilities are endless (and so are the fun and laughs!).
There are so many fun new materials for little hands to explore at this time of year. One of my favorite quick-to-set-up activities is to provide my preschooler with a selection of festive loose parts, a few containers or cups, and some Learning Resources, Fine Motor Tools. The freedom to explore in her way always inspires so much creative play.
Christmas loose parts - jingle bells, mini bows, and mini presents (all from Dollar Tree)
The Set-Up
This couldn’t be any easier to set up; simply put the materials and fine motor tools in the container! I chose to color code the loose parts and containers as an added sorting element to the tinker box. It is worth noting that, of course, if your little one still mouths items, then avoid any small loose parts in your tinker box as they could be a choking hazard.
How the Activity Works
Tinker boxes or trays are simply an open-ended selection of materials that encourage your child to experiment and explore. There is no expected outcome or a particular way to play with the materials. Instead, the focus is more on your child having the opportunity to use each material however they wish. The really interesting thing is to see how your child combines the materials and uses them to drive their play.
When my 3-year-old opened the box, she gave the cutest little gasp. She was so excited to get her hands on all these loose parts without any restrictions.
Straight away, she set up some of the cups and started transferring materials. Moving the bells from one place to another may not seem like learning, but so many skills are being developed here.
She was working on her fine motor skills each time she moved a bell and used her senses to explore the materials and then develop a vocabulary to express what she was experiencing.
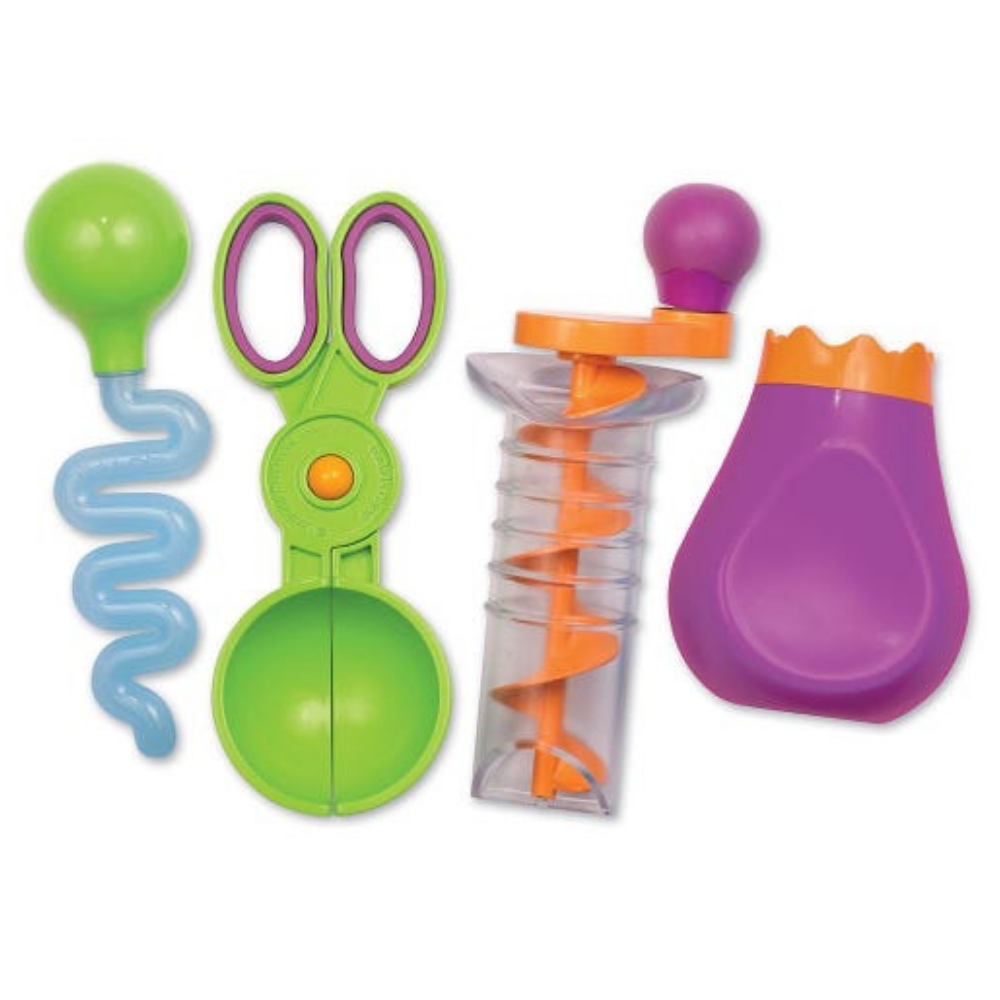
Adding fine motor tools to a setup like this helps extend the play by adding a different element of challenge. My little one experimented with if she could pick up the various loose parts with each tool. This offered an opportunity for some problem-solving.
For example, the presents were too big to fit inside the Squeezy Tweezers, so she had to switch to using the Jumbo Tweezers. She also realized after a while that she could fit more than one bell inside the Squeezy Tweezers, which made filling the cups with bells much faster!
Due to the fact that the set contained only three colors- red, green, and gold, there was lots of focused color sorting. This led in turn to an excellent opportunity to work on some counting skills.
As she filled the cupcake liners and cups, she would count the items in. She also then spent time comparing the group sizes of each color. This is such a great early numeracy link as phrases like bigger and smaller and more than and less than were often used.
Have you ever tried using a tinker box with your child? It’s so fascinating to see how they use the materials and combine them with their imaginative play ideas. Using Learning Resources fine motor tools is a great way to extend the play and add an extra challenge to transferring the materials. So much open-ended fun!
There are so many fun new materials for little hands to explore at this time of year. One of my favorite quick-to-set-up activities is to provide my preschooler with a selection of festive loose parts, a few containers or cups, and some Learning Resources, Fine Motor Tools. The freedom to explore in her way always inspires so much creative play.
Christmas loose parts - jingle bells, mini bows, and mini presents (all from Dollar Tree)
The Set-Up
This couldn’t be any easier to set up; simply put the materials and fine motor tools in the container! I chose to color code the loose parts and containers as an added sorting element to the tinker box. It is worth noting that, of course, if your little one still mouths items, then avoid any small loose parts in your tinker box as they could be a choking hazard.
How the Activity Works
Tinker boxes or trays are simply an open-ended selection of materials that encourage your child to experiment and explore. There is no expected outcome or a particular way to play with the materials. Instead, the focus is more on your child having the opportunity to use each material however they wish. The really interesting thing is to see how your child combines the materials and uses them to drive their play.
When my 3-year-old opened the box, she gave the cutest little gasp. She was so excited to get her hands on all these loose parts without any restrictions.
Straight away, she set up some of the cups and started transferring materials. Moving the bells from one place to another may not seem like learning, but so many skills are being developed here.
She was working on her fine motor skills each time she moved a bell and used her senses to explore the materials and then develop a vocabulary to express what she was experiencing.
Adding fine motor tools to a setup like this helps extend the play by adding a different element of challenge. My little one experimented with if she could pick up the various loose parts with each tool. This offered an opportunity for some problem-solving.
For example, the presents were too big to fit inside the Squeezy Tweezers, so she had to switch to using the Jumbo Tweezers. She also realized after a while that she could fit more than one bell inside the Squeezy Tweezers, which made filling the cups with bells much faster!
Due to the fact that the set contained only three colors- red, green, and gold, there was lots of focused color sorting. This led in turn to an excellent opportunity to work on some counting skills.
As she filled the cupcake liners and cups, she would count the items in. She also then spent time comparing the group sizes of each color. This is such a great early numeracy link as phrases like bigger and smaller and more than and less than were often used.
Have you ever tried using a tinker box with your child? It’s so fascinating to see how they use the materials and combine them with their imaginative play ideas. Using Learning Resources fine motor tools is a great way to extend the play and add an extra challenge to transferring the materials. So much open-ended fun!
 Shop UK Site